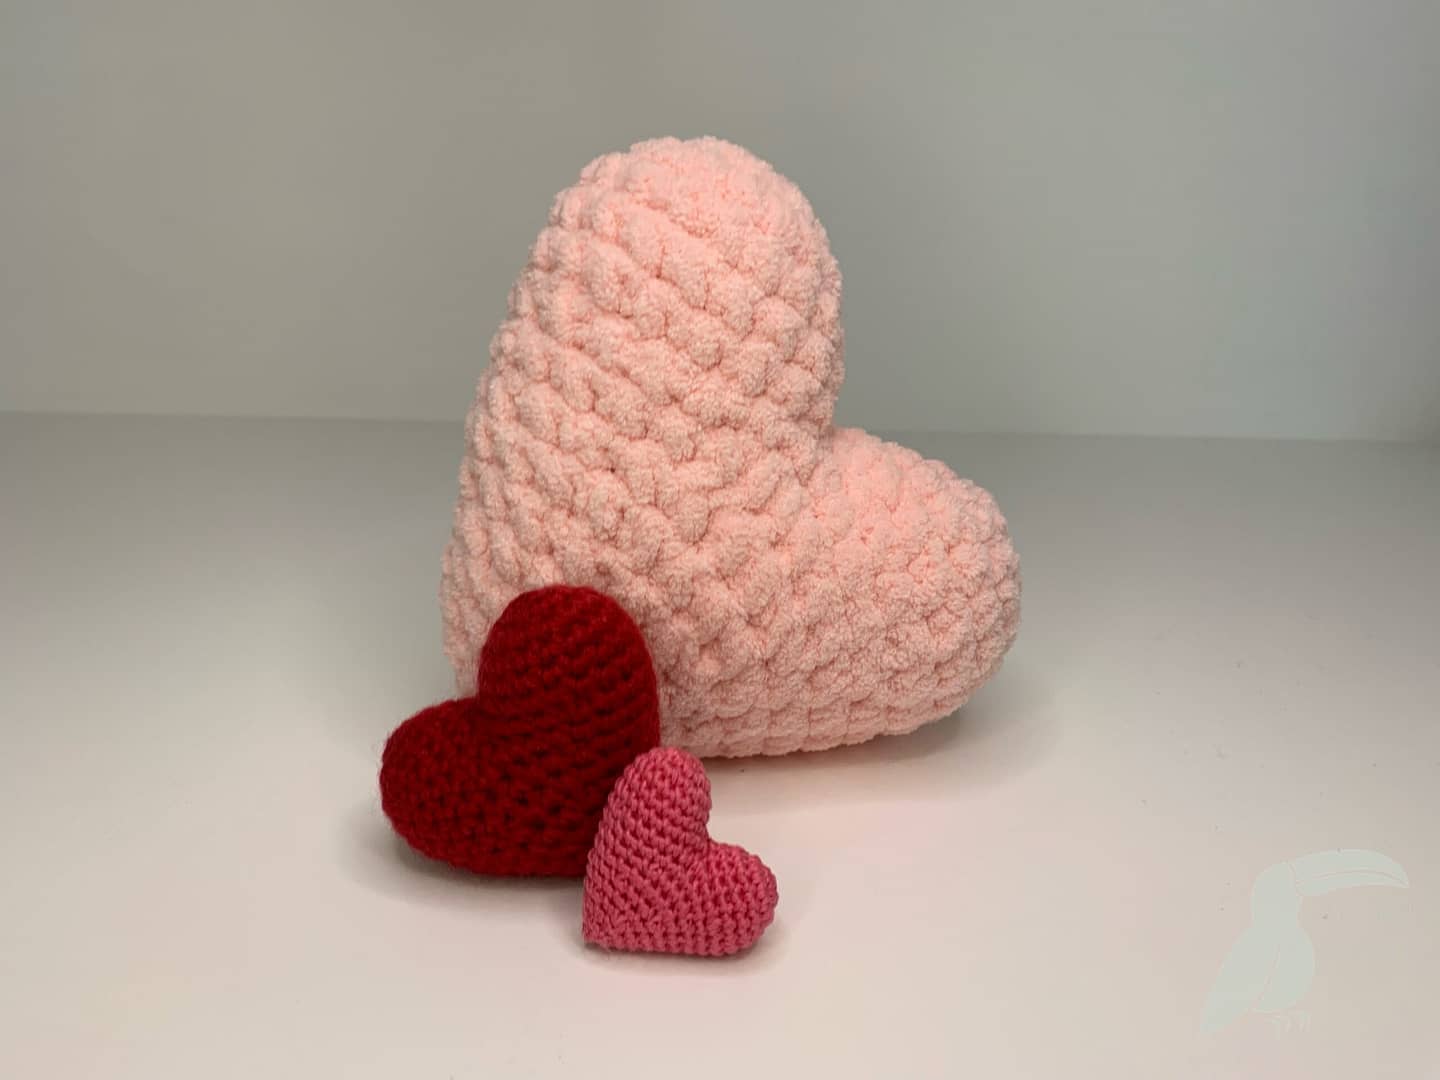
In the world of crochet amigurumi, warmth and affection are all around you in the shape of all the beautiful amigurumi you have created. But, with the addition of a crocheted heart, your creations become so much more, a symbol of your love in your creativity. In this tutorial, we’ll take you step by step through the process of creating your very own amigurumi heart to add to your collection of toys, or to make the perfect handmade gift for that special someone. So, grab your crochet hook, select your favorite yarn color, and let’s dive right in!


Blanket Yarn
with a 7.00 mm hook
Medium weight yarn
with a 3.25 mm hook
Embroidery floss
with a 1.5 mm hook
Materials:
Before we begin crocheting, let’s gather all the materials we will need.
– Crochet Hook: Choose a hook size that complements your yarn weight. A smaller hook will create a tighter stitch, resulting in a smaller amigurumi heart, while a larger hook will yield a larger, more relaxed heart.

– Yarn: Pick out your favorite colors of yarn for the heart. Traditional red or pink are popular choices, but feel free to get creative and mix it up with different colors for a unique and personalized touch!

*If you’re working in DK (medium weight) yarn, I recommend starting with a 3.5 mm hook (US D/4) and going up or down a size from there until you find the size that works for you.
– Stuffing: Look for polyfil, also known as polyester fiberfill, in your local craft store. For an eco-friendly option, you can also stuff with yarn or fabric scraps.
– Stitch Marker: A stitch marker will help you keep track of your rounds, ensuring a symmetrical and well-formed heart. You can also use a scrap of yarn, or safety pin, to mark your rounds.
– Yarn Needle: A yarn needle with a large eye is essential for weaving in ends and assembling your amigurumi heart.
Now that you’ve assembled all your supplies, it’s time to begin crocheting your amigurumi heart!
Step 1.
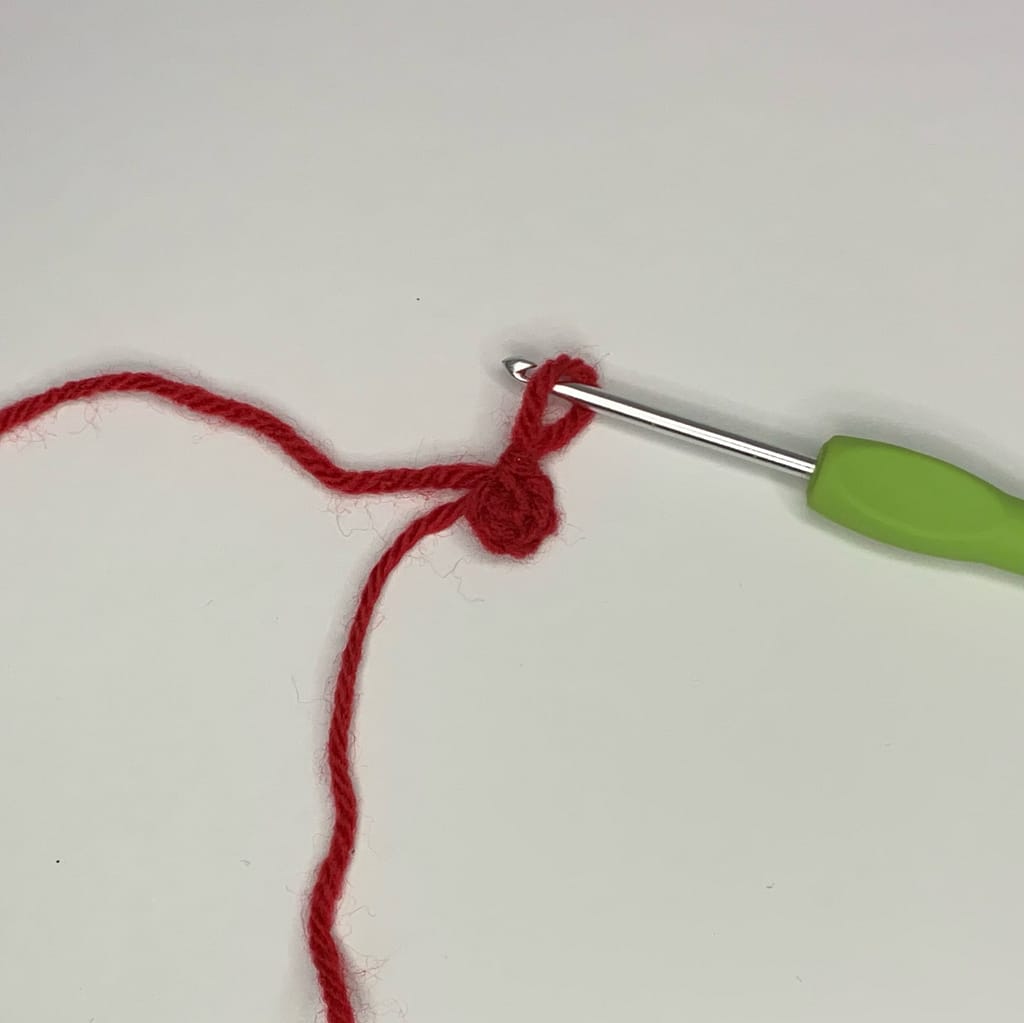
Begin with a magic ring, also known as a magic circle, to create a tight and seamless center.
Here is a tutorial I wrote on making a magic ring – How to Crochet a Magic Ring
Work 6 single crochets into the ring, then pull the yarn tail to tighten.
Step 2.
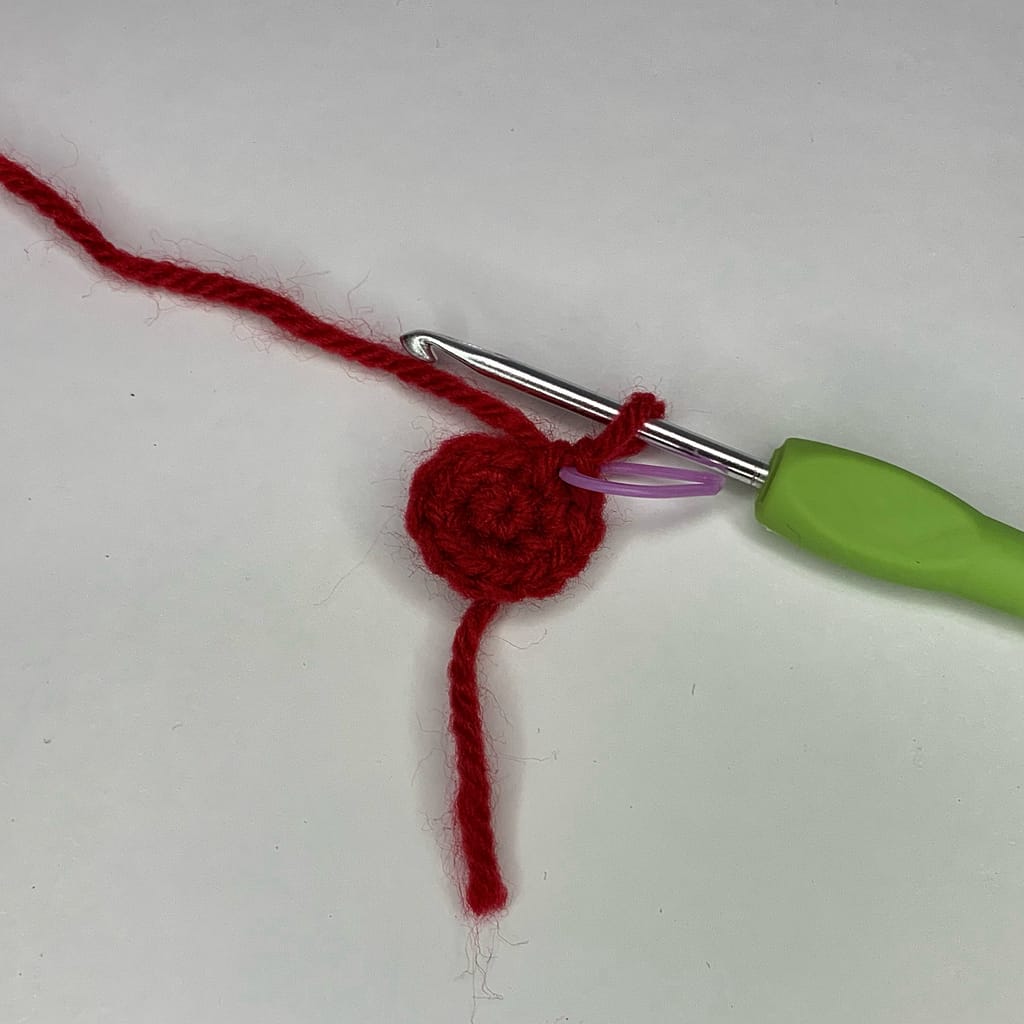
Work one increase into each stitch of the first round.
Don’t forget to use a stitch marker to keep track of your rounds and maintain symmentry.
You will now have 12 stitches in the round.
Step 3.
*work one single crochet into the first stitch, then an increase into the next*
Repeat from * to * around the entire piece (6 times)
You will now have 18 stitches in your round

Step 4.
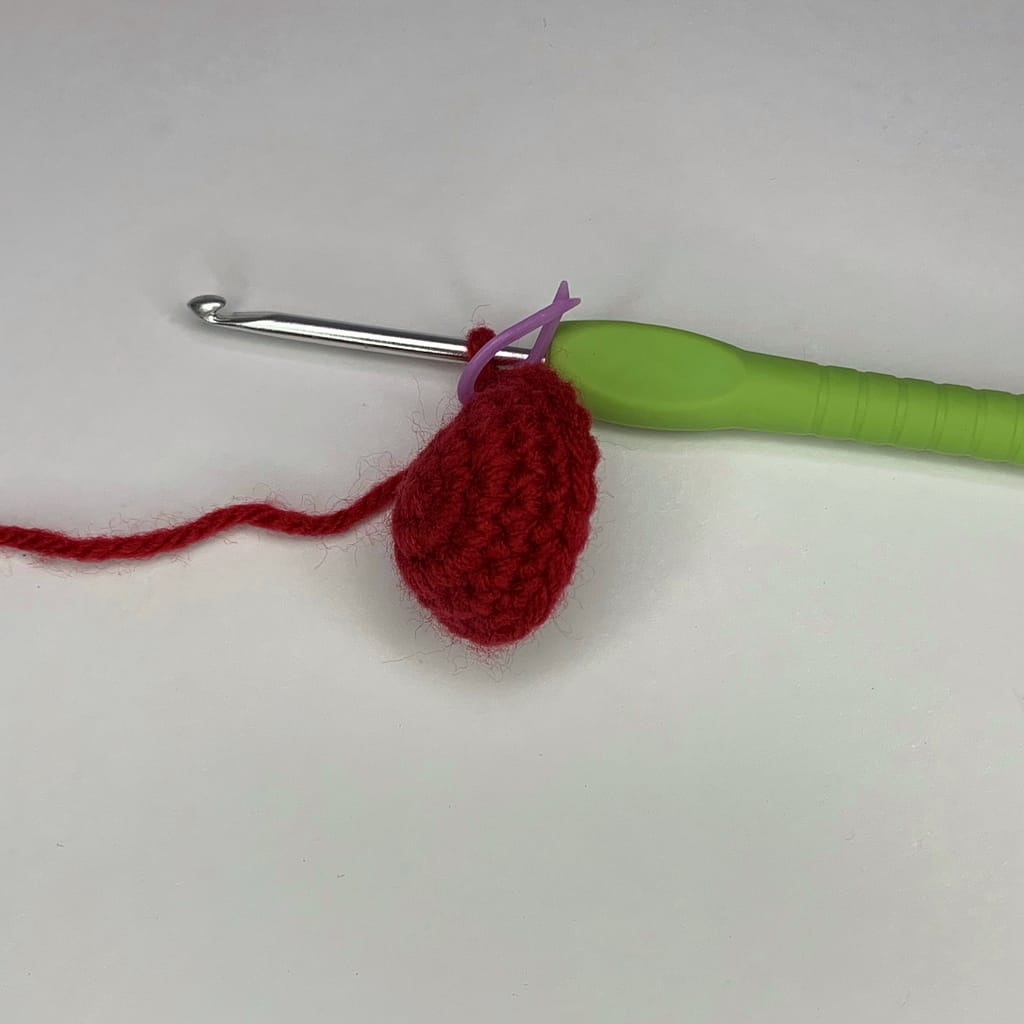
Work one single crochet into each stitch around.
Repeat to complete two more rows.
You will now have 5 rounds.
Step 5.
Cut the yarn leaving a 6 inch tail and pull through to fasten off.
Repeat steps 1-4. to make a second piece, do not fasten off this piece.

Step 6.
Now we will join the two pieces together.
Work 18 single crochets around the first piece, continue onto the second piece, work 18 more single crochets.
You will now have 36 stitches in the round.
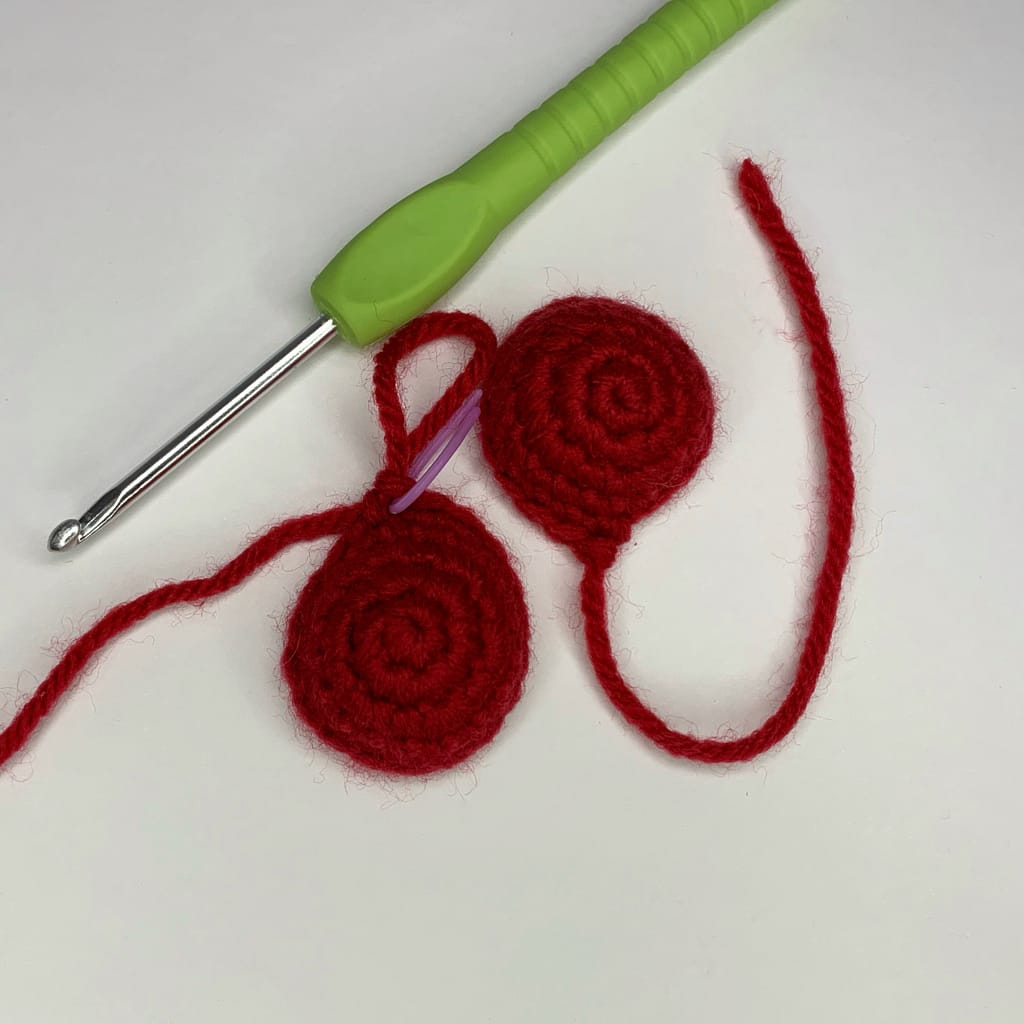
Step 7.
You will be left with a small gap between the two pieces.
Use the yarn tail from the first piece to sew the gap closed, then weave in the end.
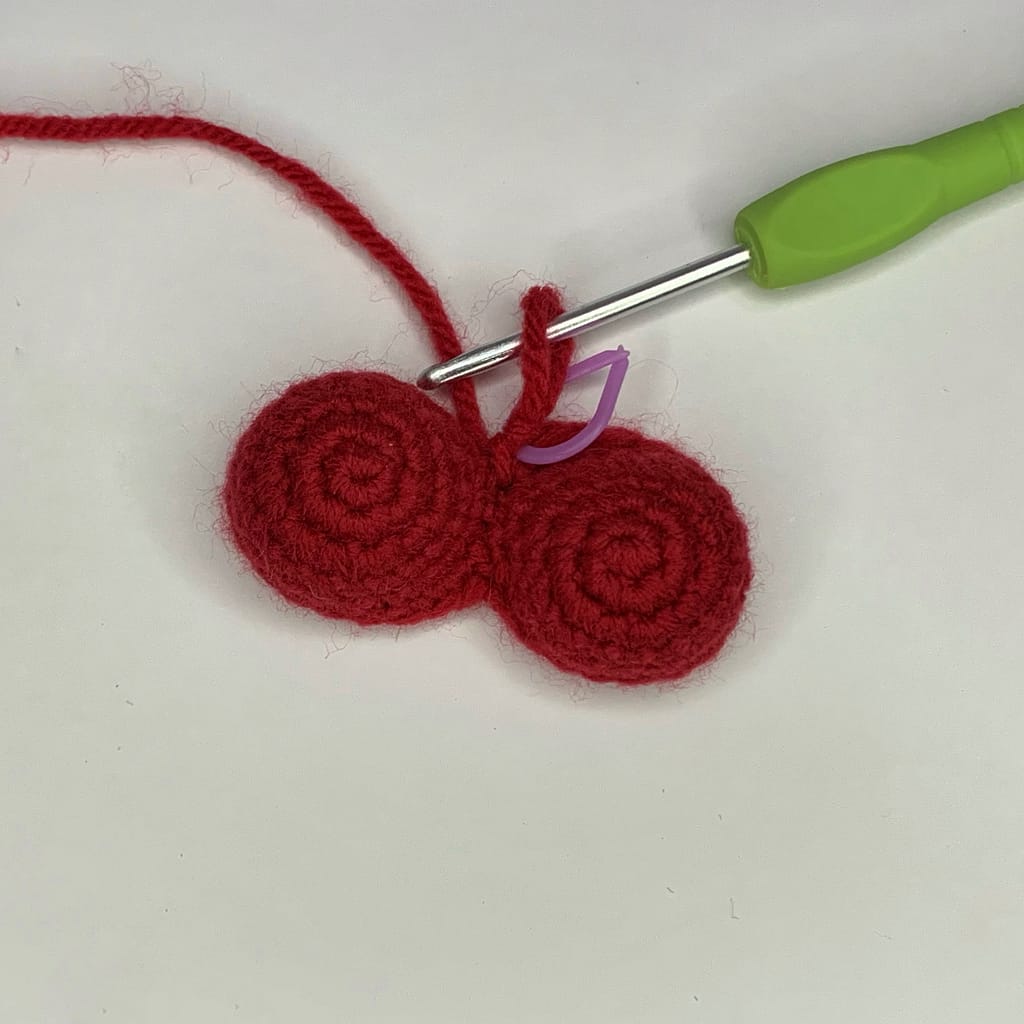
Step 8.
*work 4 single crochets, then one invisible decrease*
Repeat from * to * around the entire piece (6 times)
You will now have 30 stitches in the round
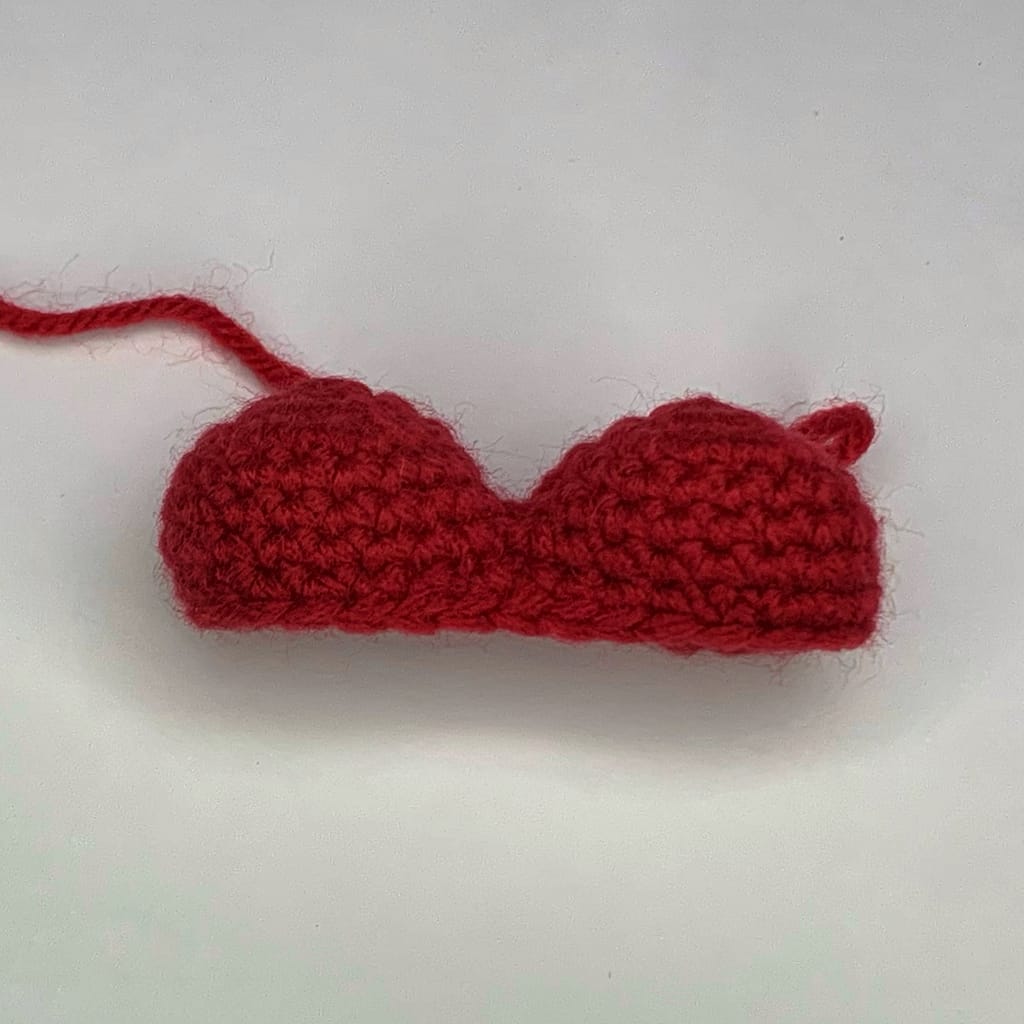
Step 9.
Work one single crochet into each stitch around.
You will now have 8 rounds.
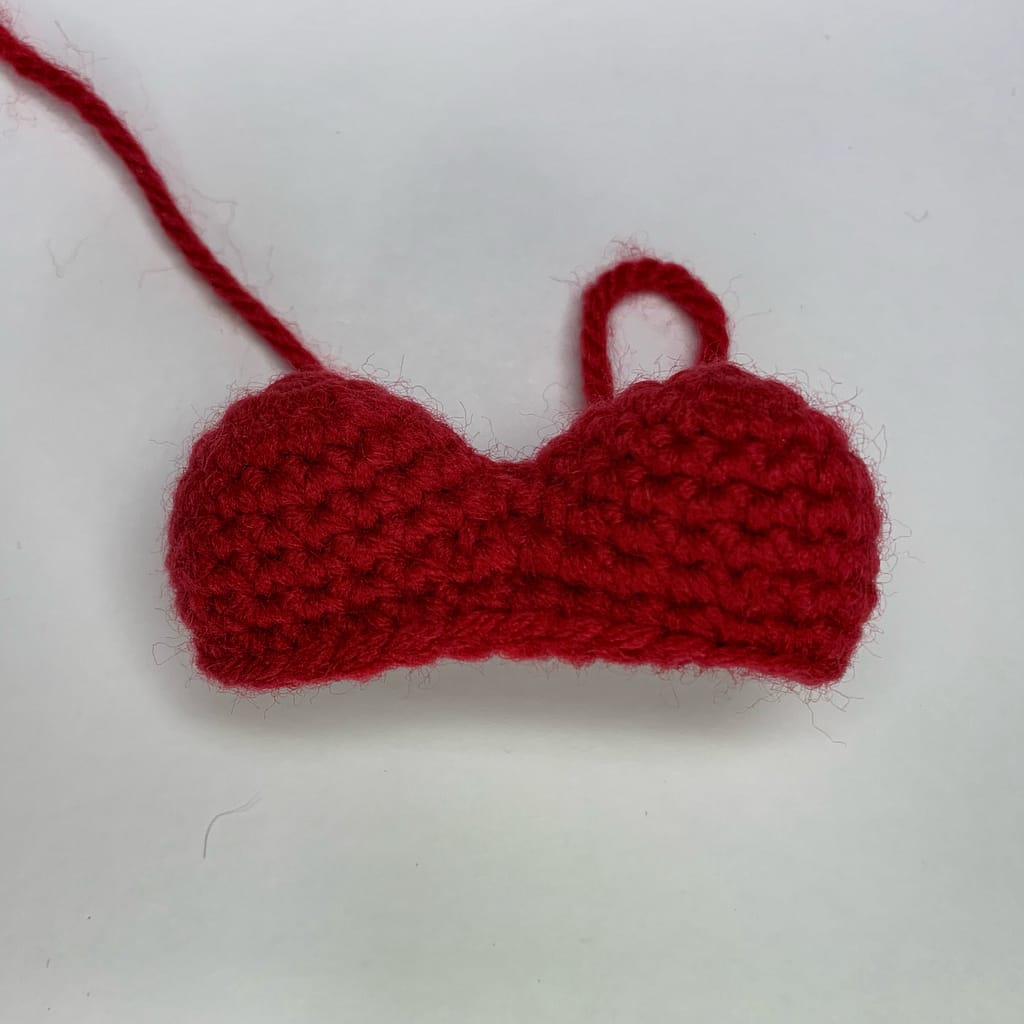
Step 10.
*work 3 single crochets, then one invisible decrease*
Repeat from * to * around the entire piece (6 times)
You will now have 24 stitches in the round.
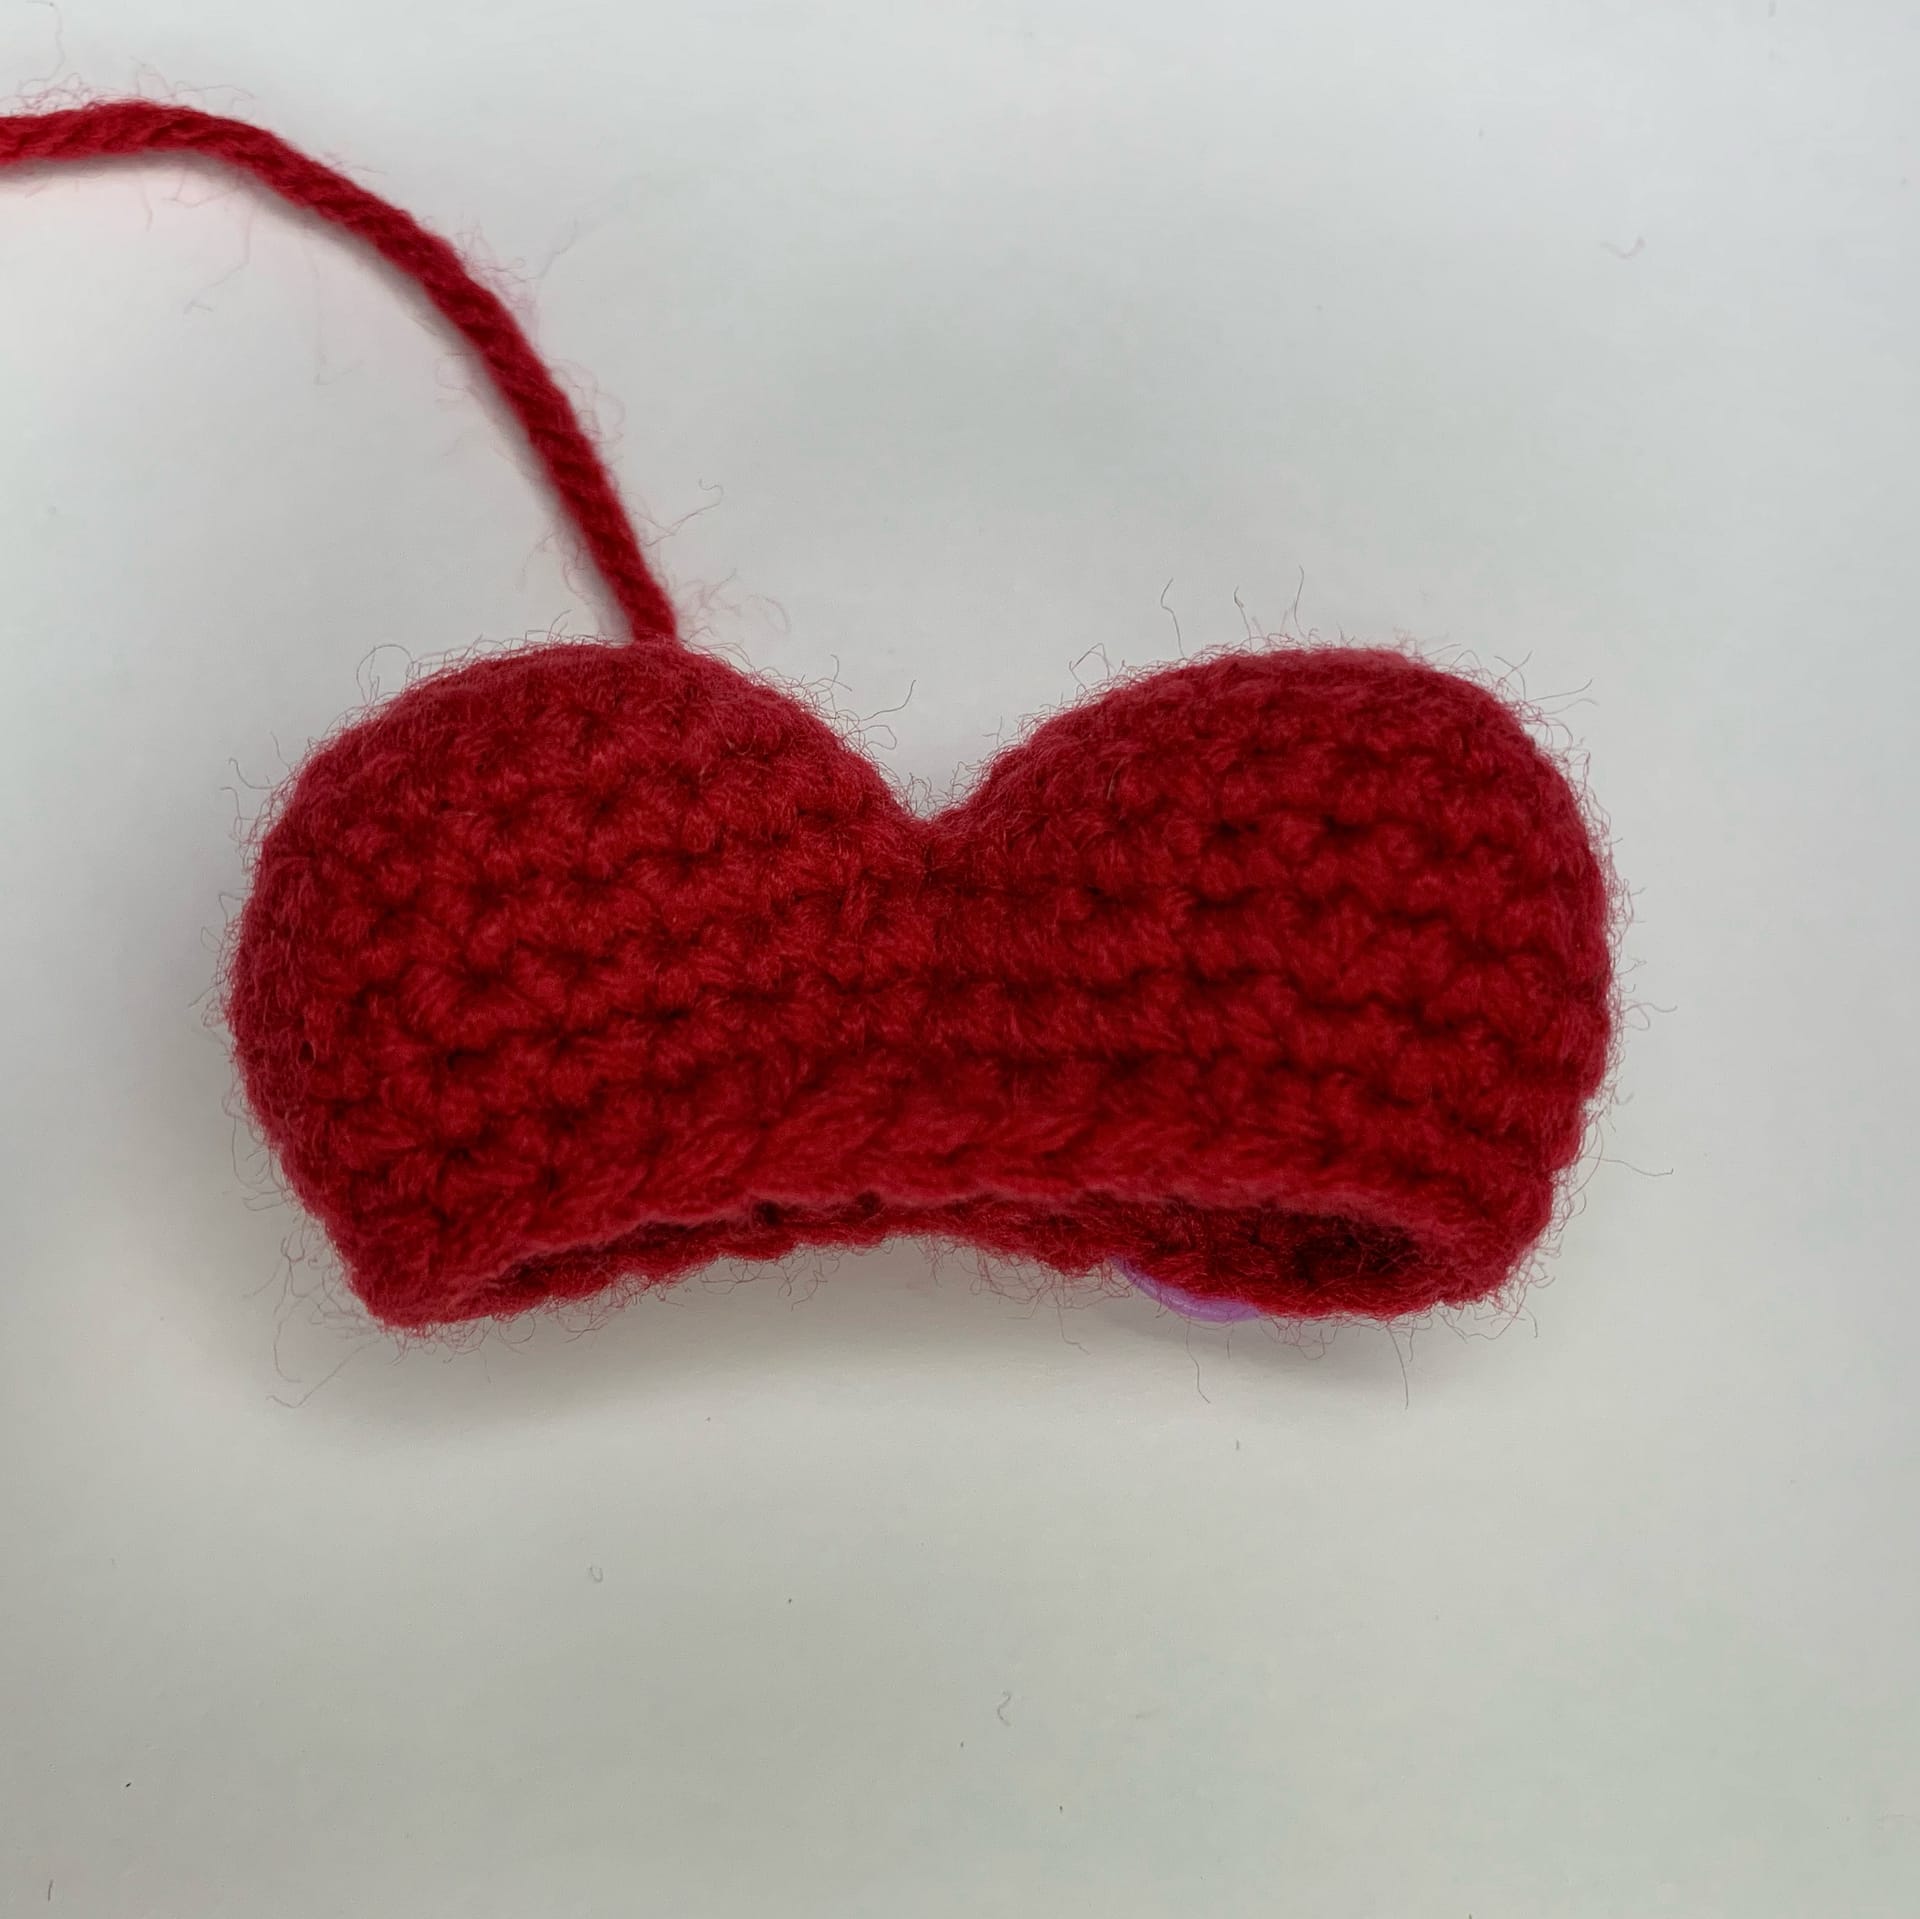
Step 11.
Work one single crochet into each st around.
You will now have 10 rounds.
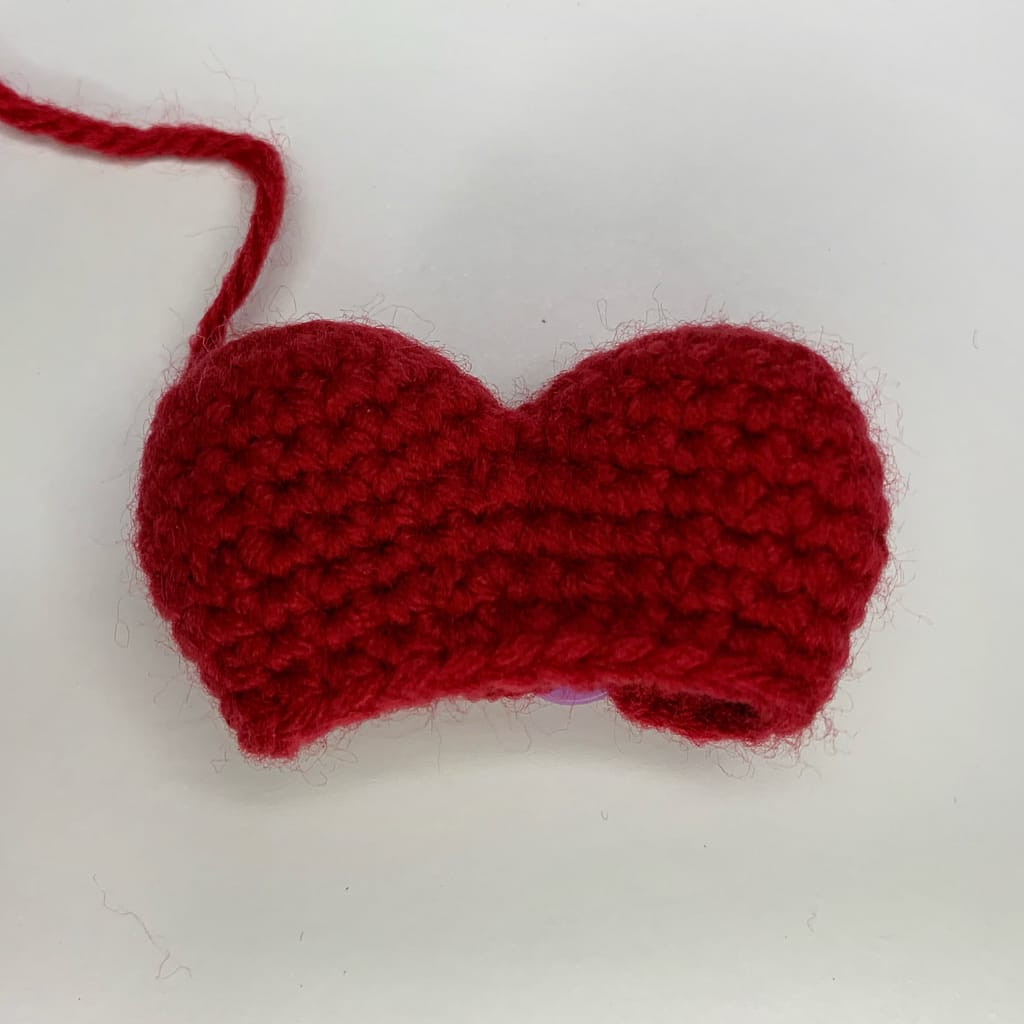
Step 12.
*work 2 single crochets, then one invisible decrease*
Repeat from * to * around the entire piece (6 times)
You will now have 18 stitches in the round.

Step 13.
Work one single crochet into each st around.
You will now have 12 rounds.

Step 14.
Now you can start stuffing your amigurumi heart.
Stuff your heart nice and firmly, as time goes on, the stuffing will soften, becoming nice and squishy.

Step 15.
*work one single crochet, then one invisible decrease*
Repeat from * to * around the entire piece (6 times)
You will now have 12 stitches in the round.
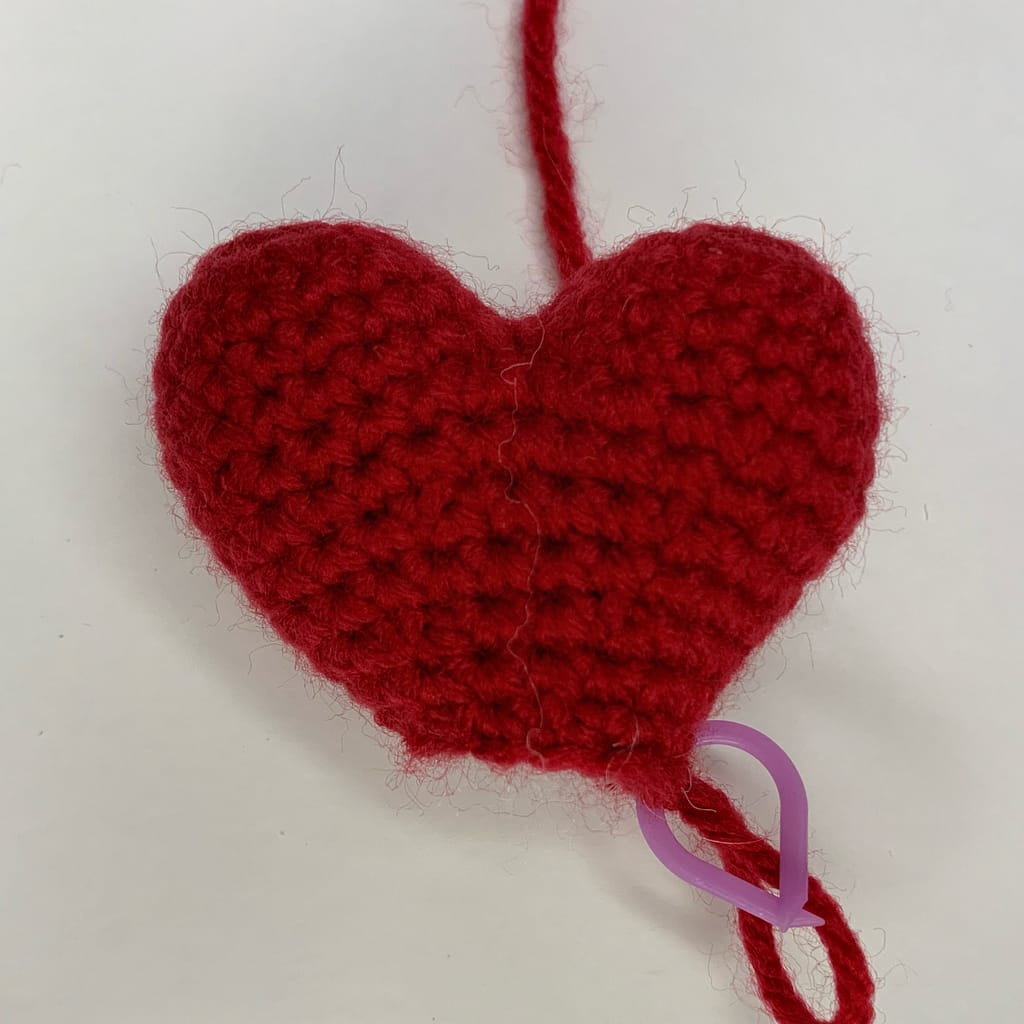
Step 16.
Work one single crochet into each stitch around.
You will now have 14 rounds.
Tuck a little more stuffing in the opening to make sure the tip is filled.

Step 17.
Work 6 invisible decreases around.
Cut the yarn leaving a 6 inch tail.

Step 18.
Weave the yarn tail through the front loops of the last round.
Pull the tail tight to close the opening and weave in the ends.

And there you have it—the perfect amigurumi heart, ready to spread love and joy wherever it goes. Whether you gift it to a friend, use it as a decorative piece, or keep it as a reminder of your crafting journey, your amigurumi heart is a testament to the joy of handmade creations.
Be sure to tag me in your creations @stitchedsafari, I can’t wait to see your creations!
Happy crocheting!

