Do you want to gain the skills to become a master amigurumi crocheter? Then you’ve come to the right place! Read on to learn how to begin your first amigurumi project!
The magic ring, or magic circle is the most common method to starting an amigurumi piece, whether a head, body, arms, legs, tail or even just some spots! This guide will take you step by step through the making of your first amigurumi toy!
When you are making a piece that results in a circular, or spherical shape, the magic ring is your best friend! For pieces that require an oval shape, a different method of beginning is required, but we’ll get into that in another post. Making a magic ring is a simple technique, that, once mastered, will have you on your way to creating stunning amigurumi in no time!
Magic Ring
So, without further ado, lets learn how to make a Magic Ring!
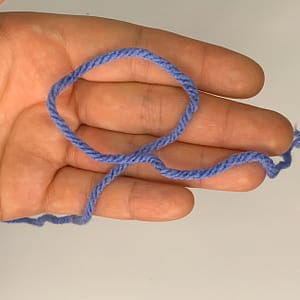
Step 1.
The first step is easy, leaving a long tail, make a loop with your yarn.
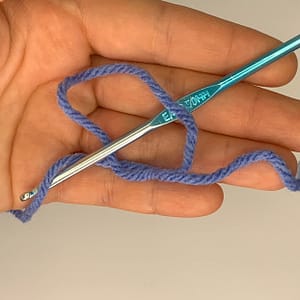
Step 2.
Now insert your hook through the loop from underneath and grab the working yarn (yarn coming from the yarn ball) with your hook.
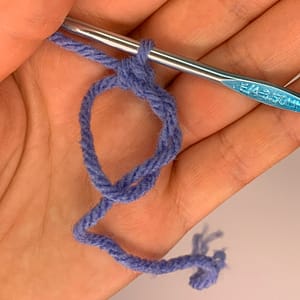
Step 3.
Pull the yarn through the center loop, you should now have one loop on your hook.

Step 4.
Now yo (lay working yarn over your hook) and pull through the first loop creating your first chain!

Step 5.
Now insert your hook through the center loop, yo, and pull up a loop, yo, pull up a loop again and pull through both loops creating your first single crochet!
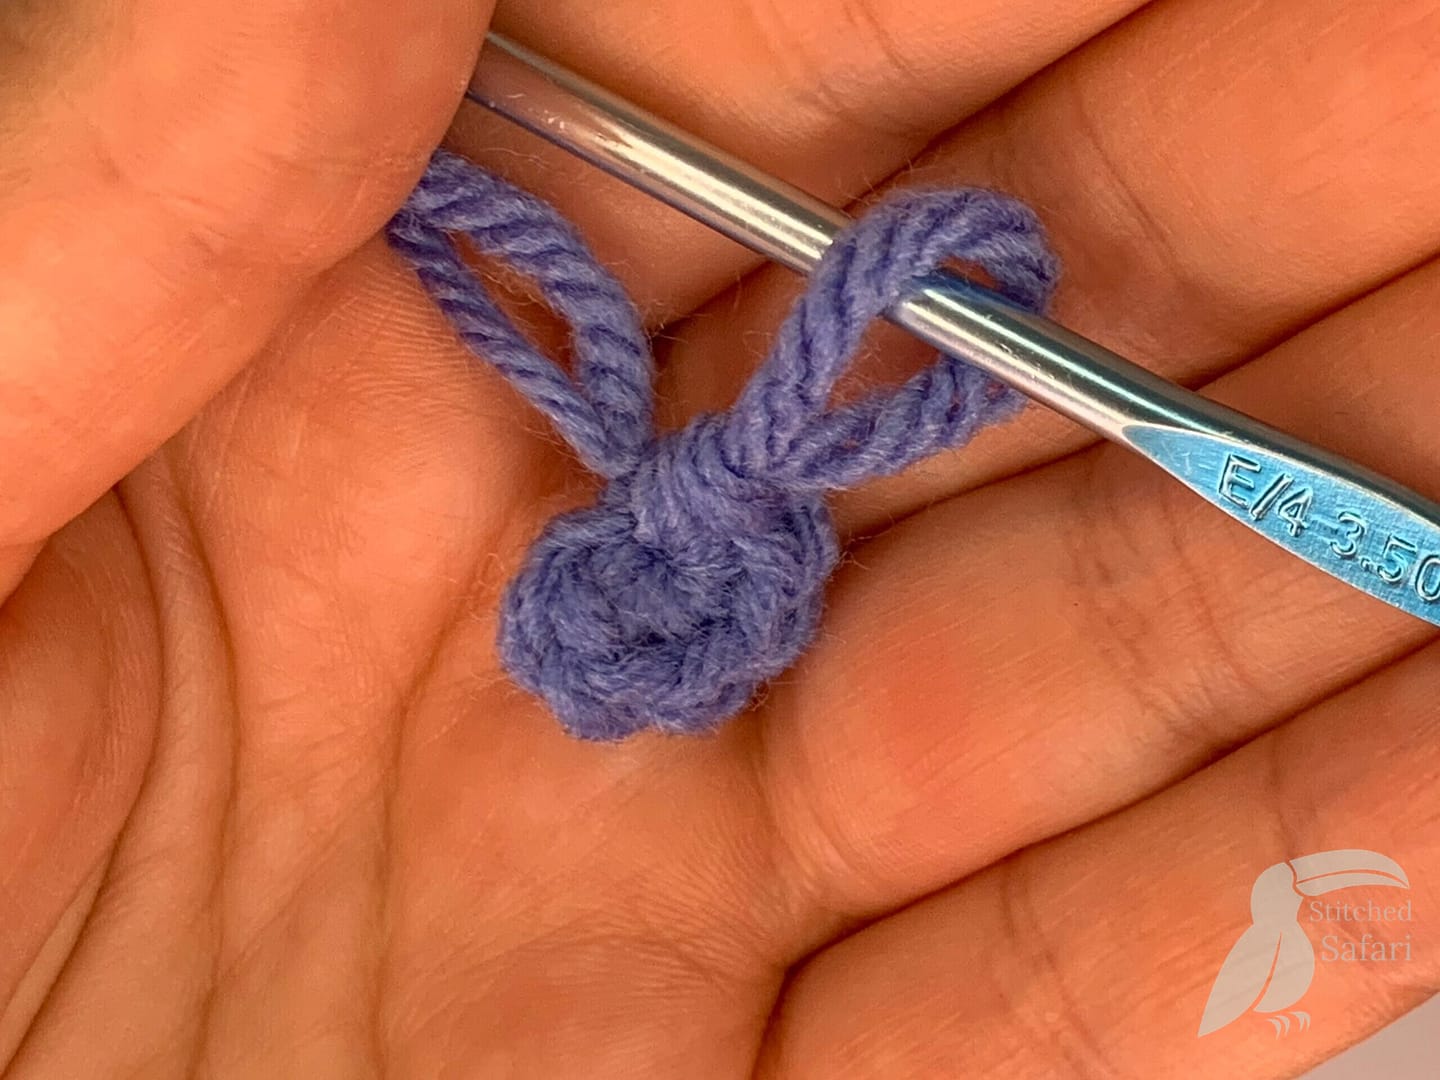
Step 6.
Repeat step 5 to work as many single crochets as your pattern indicates (mine has 6).

Step 7.
Last step is pretty simple! Grab your tail (the beginning of your yarn) and pull gently to close the circle.

Congratulations! You’ve completed your Magic Circle!
Don’t forget to use a stitch marker to mark each round as you work.


