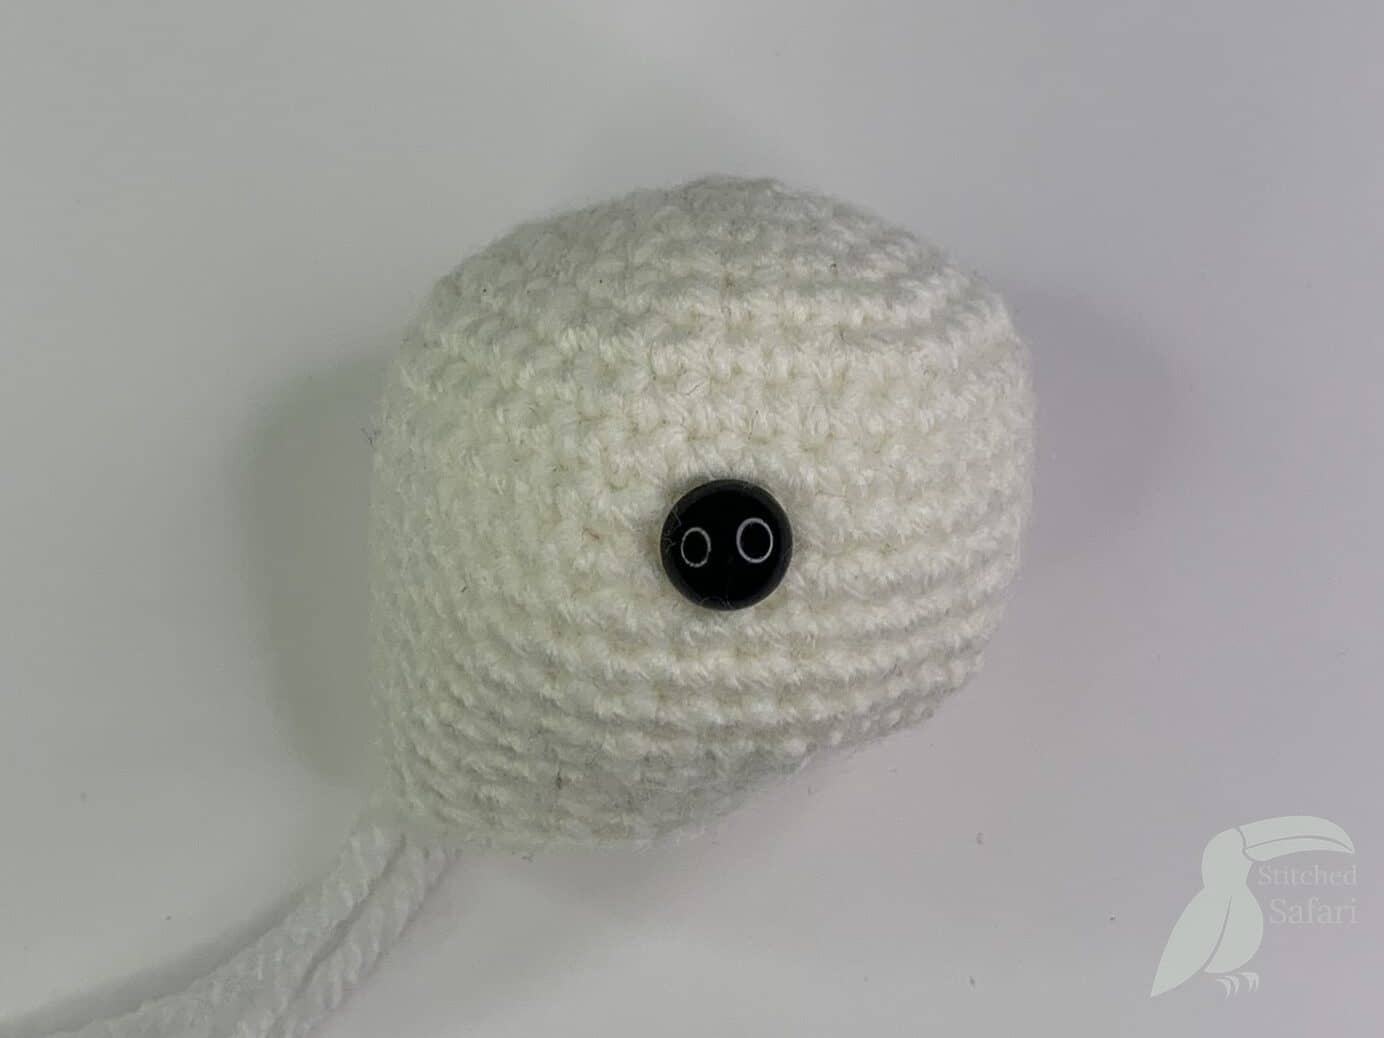
A simple way to add character to any amigurumi animal is with safety eyes! Cheap and easy to install, safety eyes add a touch of depth to your amigurumi faces. In another post, we will cover embroidery eyes and adding details around the eyes.
Today we will be covering a simple and secure method to attaching your safety eyes.
To begin, you will need a lighter, your safety eyes and matching backings, and your project in need of a facelift.
Attaching Safety Eyes
Make sure you have inserted your eyes where you want them before you secure. I prefer to insert both eyes before securing, to make sure I have them placed exactly where I want them.
Step 1.
If possible, once your eyes are inserted, turn your piece inside out to aid in securing the eyes.

Step 2.
Select your backings. (It should have come packaged with your safety eyes)
Safety eyes come in various sizes, and there are some variations between all their backing sizes.

Step 3.
Insert the backing onto the post of the safety eye, with the round side facing the crocheted piece.
(I prefer it this way, some people prefer to flip the backing)

Step 4.
The backing will click on, continue to push it on until it is sitting flush with your crocheted piece.

Step 5.
Using a lighter (safely!!), heat the end of the post until the entire visible post above the baking is soft, do not melt the backing.

Step 6.
Press the metal end of the lighter against the soft post to flatten it flush with the backing.

That’s it!
With the post now melted flat, your safety eye is now securely attached to your crochet piece.
Don’t forget to turn your piece rightside out again before you continue working!

Happy Crocheting!


